How to Install the Meta Pixel on Any HTML Website (2026 Guide)
Paste-and-go Meta Pixel setup for static HTML sites: exactly where the base code goes, what the noscript fallback does, tracking button clicks and form submits, and verifying events without Google Tag Manager.
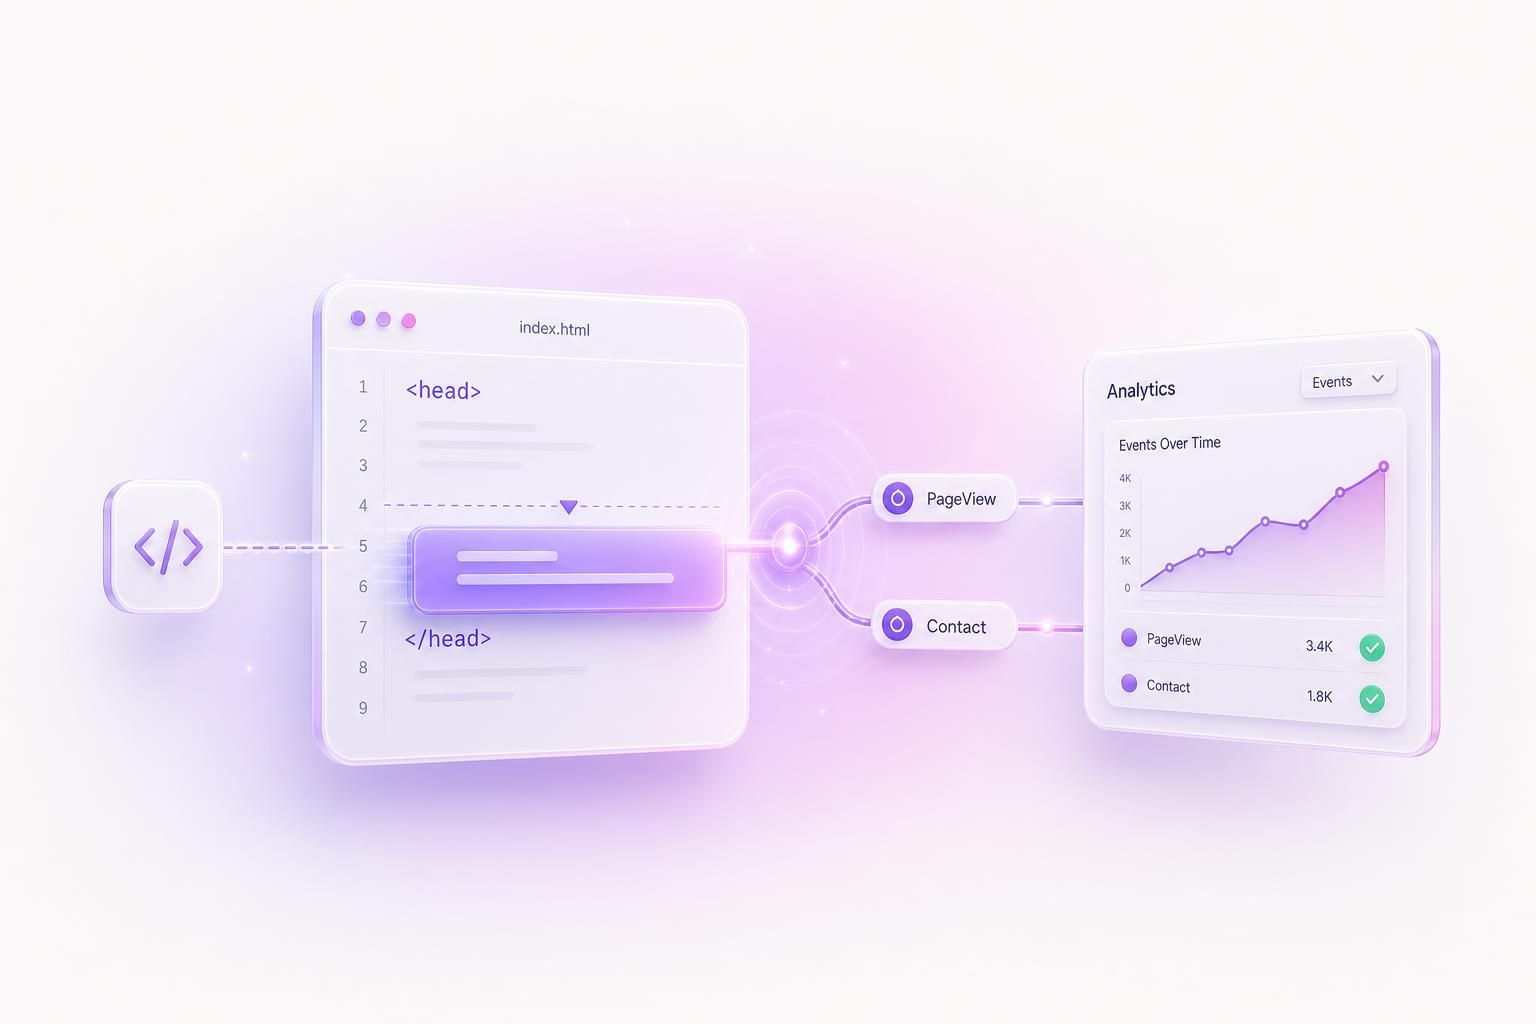
Plain HTML is the easiest pixel install there is. One paste per page and you are done: no package manager, no build step, no framework lifecycle to reason about. A static site also sidesteps the single-page-app headaches that the React, Next.js, and Nuxt versions of this guide spend most of their time on, because every navigation is a real page load, and every real page load runs the pixel snippet again on its own.
Bottom line: copy the base code from Events Manager, paste it right before </head> on every page of your site, and confirm the hits in the Test Events tab. Conversion events like Lead go only on the pages where the conversion actually happens.
Get your Pixel ID
Everything below needs your pixel ID, a 15-16 digit number. Open Events Manager at business.facebook.com/events_manager2, click Data sources in the left sidebar, and select your pixel. The ID sits at the top of the pixel detail view. Copy it; you will paste it into the snippet twice.
If someone else maintains the site, the same screen has an option to email the setup instructions and code to your developer, which beats relaying snippets over chat.
No pixel yet? The same Data sources screen has a button to add one. Pick Web as the source type, name it after your site, and Meta generates the ID on the spot.
Paste the base code before </head>
This is the full official snippet. Replace YOUR_PIXEL_ID in both places, once in the script and once in the noscript image URL.
every page, before </head>
<!-- Meta Pixel Code -->
<script>
  !function(f,b,e,v,n,t,s)
  {if(f.fbq)return;n=f.fbq=function(){n.callMethod?
  n.callMethod.apply(n,arguments):n.queue.push(arguments)};
  if(!f._fbq)f._fbq=n;n.push=n;n.loaded=!0;n.version='2.0';
  n.queue=[];t=b.createElement(e);t.async=!0;
  t.src=v;s=b.getElementsByTagName(e)[0];
  s.parentNode.insertBefore(t,s)}(window, document,'script',
  'https://connect.facebook.net/en_US/fbevents.js');
  fbq('init', 'YOUR_PIXEL_ID');
  fbq('track', 'PageView');
</script>
<noscript><img height="1" width="1" style="display:none"
  src="https://www.facebook.com/tr?id=YOUR_PIXEL_ID&ev=PageView&noscript=1"
/></noscript>
<!-- End Meta Pixel Code -->
Placement matters. The snippet belongs inside the head, as the last thing before the closing tag:
index.html
<!DOCTYPE html>
<html>
<head>
  <title>Your site</title>
  <!-- Meta Pixel Code goes here, right before </head> -->
</head>
<body>
  ...
</body>
</html>
The snippet does three things. The script block loads fbevents.js from Meta's servers asynchronously, so it never blocks your page from rendering. The fbq('init', ...) call registers your pixel ID with that library. And fbq('track', 'PageView') sends the first event as soon as the library is ready. The noscript block underneath is the fallback for visitors who browse with JavaScript turned off: their browser requests a 1x1 tracking image from Facebook instead, so the view still registers even though no script ran.
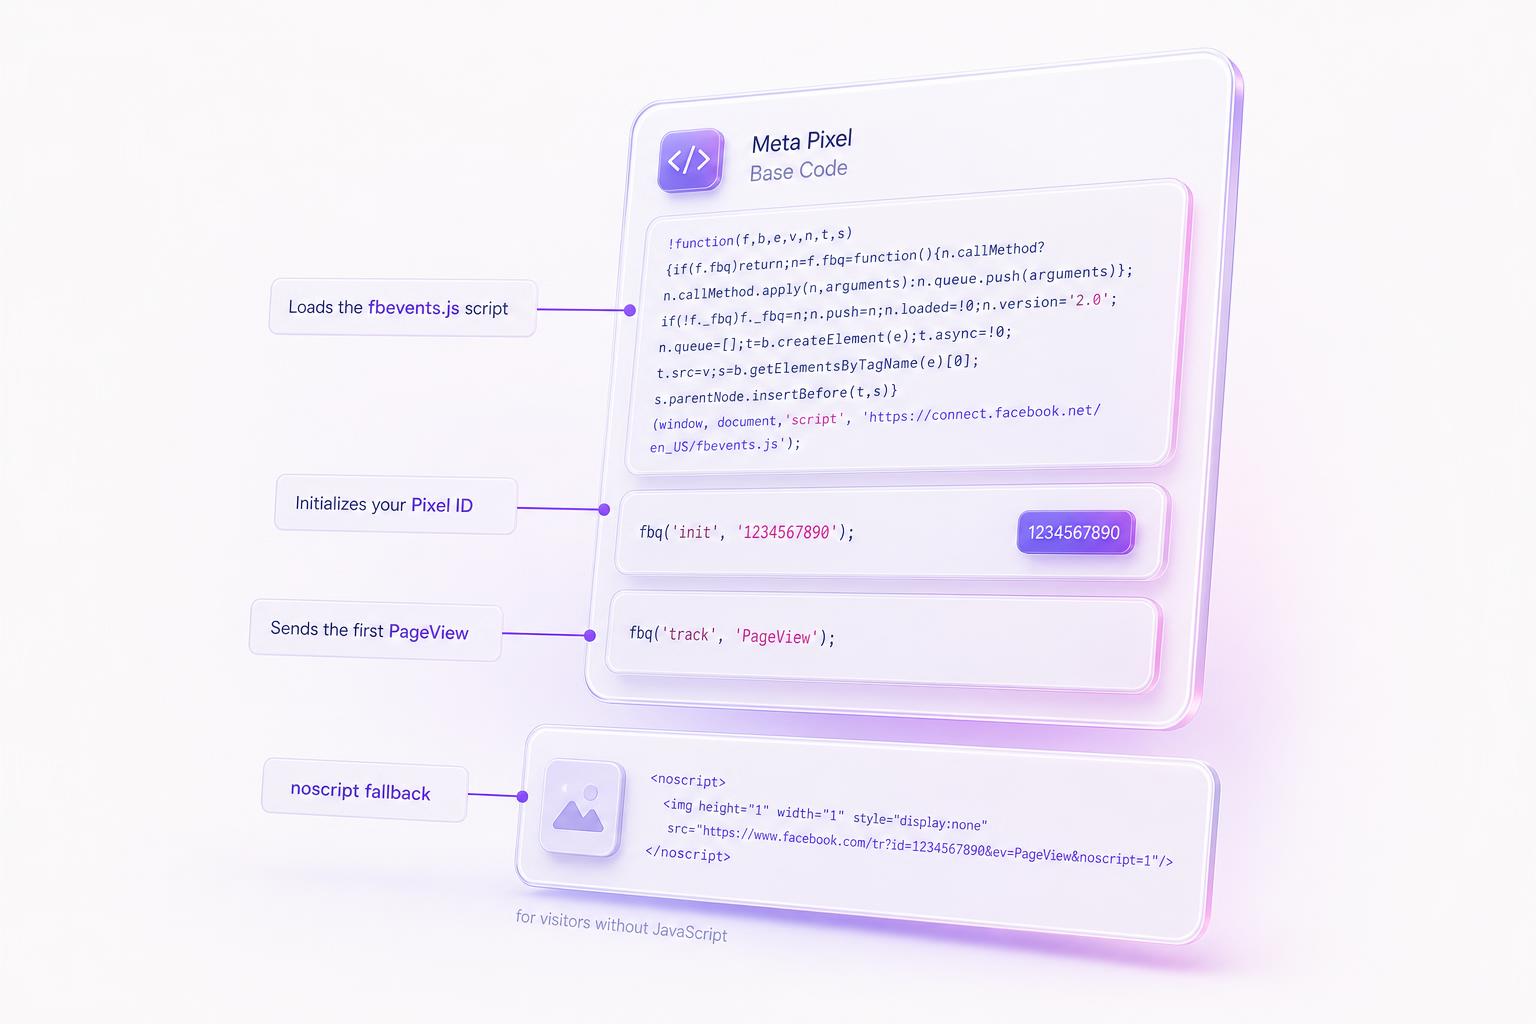
The one rule people miss: the base code goes on every page of the site, not just the homepage. A page without it is invisible to Meta, which quietly ruins your retargeting audiences and undercounts your traffic. The upside of a multi-page HTML site is that once the snippet is everywhere, PageView tracking is complete for free. Each navigation is a full page load, each load runs the snippet, and each run fires its own PageView. No route-change listeners, no history patching, none of the machinery frameworks need.
Building in Webflow, Framer, Carrd, or another site builder instead of raw files? All of them have a setting for custom code in the head. Paste the same snippet there once and the builder applies it site-wide, which satisfies the every-page rule in a single step.
Track conversions with standard events
PageViews alone cannot tell Meta who became a lead. If you run ads and only ever send PageView, the algorithm optimizes for people who load pages, not people who fill out forms or buy. Standard events carry the signal that matters. They also feed your audiences: a site that only sends PageView can only ever retarget page visitors, while a site that sends Lead can seed a lookalike from the people who actually converted. On a static site there are three common ways to fire an event.
Pattern 1: button clicks
For click-to-call buttons, WhatsApp links, or anything where the click itself is the conversion, add an onclick handler:
anywhere in your HTML
<button onclick="fbq('track', 'Contact')">Call us</button>The click is the conversion here, and nobody taps a call button by accident, so this simple version holds up well in practice.
Pattern 2: form submit listener
before </body> on the form page
<script>
  document.getElementById('quote-form').addEventListener('submit', function () {
    fbq('track', 'Lead');
  });
</script>
This works, with two caveats. It fires when the visitor presses submit, which is not the same as a successful submission, so an abandoned attempt after an invalid submit still counts as a Lead. And if the form redirects instantly, the browser can tear the page down before the event request leaves, so the event is sometimes lost.
Pattern 3: thank-you page tracking (recommended)
Redirect successful form submits to a dedicated thank-you.html and put this on that page only, after the base code:
thank-you.html
<script>
  fbq('track', 'Lead');
</script>
This is the most reliable conversion signal a static site can produce. The event fires exactly once, only on success, and never for abandoned attempts, because the only way to reach the page is to get through the form.
Selling something? Fire fbq('track', 'Purchase', {value: 120.0, currency: 'USD'}); on the order confirmation page, with the real order value, so Meta can optimize toward revenue rather than clicks. For actions without a standard name, use fbq('trackCustom', 'BrochureDownload'); instead, though standard events optimize better because Meta already knows what they mean.
For a service or local business, this short list covers almost every real conversion:
| Standard event | Where to fire it |
|---|---|
| ViewContent | Key landing pages you send ad traffic to |
| Lead | Form submitted successfully (thank-you page) |
| Contact | Click-to-call or contact button clicked |
| Schedule | Booking or appointment confirmed |
| Purchase | Payment done (order confirmation page) |
| CompleteRegistration | Account or signup created |
Verify the pixel works
Install the Meta Pixel Helper Chrome extension and open your site. On a page with a working pixel, the icon turns blue and clicking it lists the events that fired, along with warnings if something looks off.
Then open Events Manager, select your pixel, and switch to the Test events tab. Enter your site URL, browse around, and watch the hits appear in real time. The aggregate charts on the overview lag around 20 minutes, so Test Events is the source of truth while you are setting things up.
One practical note while testing: use a browser without an ad blocker, or the events never leave your machine and you will spend an hour debugging a problem that does not exist.
Check at least three things before calling it done: a PageView on the homepage, a PageView on one inner page, and your Lead event on the thank-you page. If all three show up, the install is solid.
The pixel just measures. Winning is a creative problem.
Once tracking works, the lever that actually moves your cost per lead is testing more ad creatives against it. AdMakeAI turns one product photo into ready-to-run Facebook ad images, so the pixel you just installed has something worth measuring. Free credits, no credit card.
Common problems
Snippet pasted into the body. The pixel still fires, just later in the page load, and a visitor who bounces quickly may leave before it does. Keep it in the head so even short visits get counted.
Base code installed twice. This happens when the snippet is pasted by hand on top of a site builder integration that already injects it, and the result is every event doubling. Keep exactly one source of the base code. The same rule applies if you later adopt Google Tag Manager: move the pixel into GTM and delete the hardcoded snippet.
Edits not showing up. If Pixel Helper still sees the old code after you deploy, a CDN or builder cache is serving the stale page. Hard refresh, or purge the cache, then test again.
Ad blockers. Browser-side pixel events typically lose 20-30% of visitors to ad blockers, and no amount of correct installation fixes that. Meta's Conversions API exists for sending events server-side to close that gap, but it needs a backend or a partner integration, which a static site does not have by definition.
EU consent. If you need consent before tracking, call fbq('consent', 'revoke') before the init call, then fbq('consent', 'grant') once the visitor accepts your banner. Events queue up and only send after the grant.
Frequently Asked Questions
Tracking is on. Now give it better ads to measure.
AdMakeAI generates Meta-spec ad images from a single product photo in about 30 seconds. Free to try, no credit card.
Related guides
Install the Meta Pixel in React
Route-change tracking, StrictMode double-fires, and the SPA problems this HTML guide gets to skip.
Install the Meta Pixel in Next.js
The Script component, App Router vs Pages Router, and where the pixel goes in a Next.js app.
Install the Meta Pixel in Nuxt
Plugin setup, router hooks, and SSR-safe pixel loading for Vue and Nuxt sites.
How to Connect Claude to Meta Ads
Once the pixel is feeding data back, the safe way to let an AI agent research, draft, and manage your campaigns.
Ready to Create Winning Ads?
Join marketers using AI to research competitors and create high-converting ads